
People from all over have asked for hints and tips for making bath bombs. Now, I’m absolutely not an expert but I did learn a few things while I was knee deep in frustration trying to crack the bath bomb enigma. Everyone else seemed to be effortlessly cranking out these beautiful bath bombs, while I was crying into my bath bomb mix, WILLING the two sides of my balls to stick together.
Here’s a few points that might help you if you too if you find yourself in bath bomb purgatory…
- While you only need baking soda and citric acid as your dry ingredients in bath bombs, it helps to add extra dry ingredients which can help prevent the premature reaction between those two main ingredients. I use both cornflour (cornstarch) and kaolin clay in my recipe. (Don’t use more than half the weight of the citric acid)
- Use POWDERED anhydrous citric acid. You can buy the coarser citric acid and grind it yourself. Just buy the powdered version. Also, be careful not to buy monohydrate citric acid, you definitely need anhydrous citric acid.
- If you’re a beginner, or having problems with your recipe, don’t use Epsom salts or Dead Sea salts in your bath bombs. I have seen recipes using them, but they’re high in magnesium, which is a humectant (i.e. it attracts moisture from the air), and can prematurely set off the fizz
- Sieve, sieve, sieve all your dry ingredients. Never, ever try to make bath bombs with ingredients that haven’t been carefully sieved to remove all and any lumps.
- If you plan on making a lot of bath bombs, consider investing in a dedicated kitchen aid type mixer. Get it mixing all the dry ingredients, then combine your oils (cocoa butter and rice bran in my case), your fragrance and your colourant in a separate container, then drizzle it into the mixer and get everything really well combined with minimal effort.
- Citrus essential oils can prevent bath bombs from hardening. I made three big batches of bath bombs using my ‘serenity’ essential oil blend (that contains both sweet orange and lemon essential oils) and couldn’t understand why the bath bombs never got hard. I suspected that the essential oils might be to blame but a lengthy Google didn’t come up with anything. I finally got my answer after posting in a bath bomb Facebook group. Citrus EOs can be problematic in bath bombs.
- Use a water soluble colorant specifically designed for use in bath bombs. I use these from Soaposh. Mica in bath bombs aren’t recommended and can lead to a hot mess in and around the bathtub unless to you use Polysorbate 80.
- Once everything is combined, spritz with a little Witch Hazel. Really, just a very small amount. For a recipe that starts with 900g baking soda I only need one or two spritzes of Witch Hazel. You really don’t want a ‘wet sand’ texture (certainly not the wet sand that I’m familiar with anyway) If you squeeze some mix in your hand it should hold together, but it doesn’t look or feel wet. This bit is notoriously hard to explain, and really, trial and error is the best way to become familiar with it (but it’s like riding a bike, once you’ve got it you’ve got it for life :-D). Too much moisture (of any kind) in your bath bombs can lead to lumpy, warty or cracked bombs as they dry out.
- Don’t put any water anywhere near your bombs. Despite seeing plenty of recipes advocate a quick spritz of water, you don’t need it, and you’re risking setting off the fizzing prematurely. Also make very sure that your kit, implements and moulds are completely, utterly dry (be especially careful when you wash your moulds between making different varieties – dry them well)
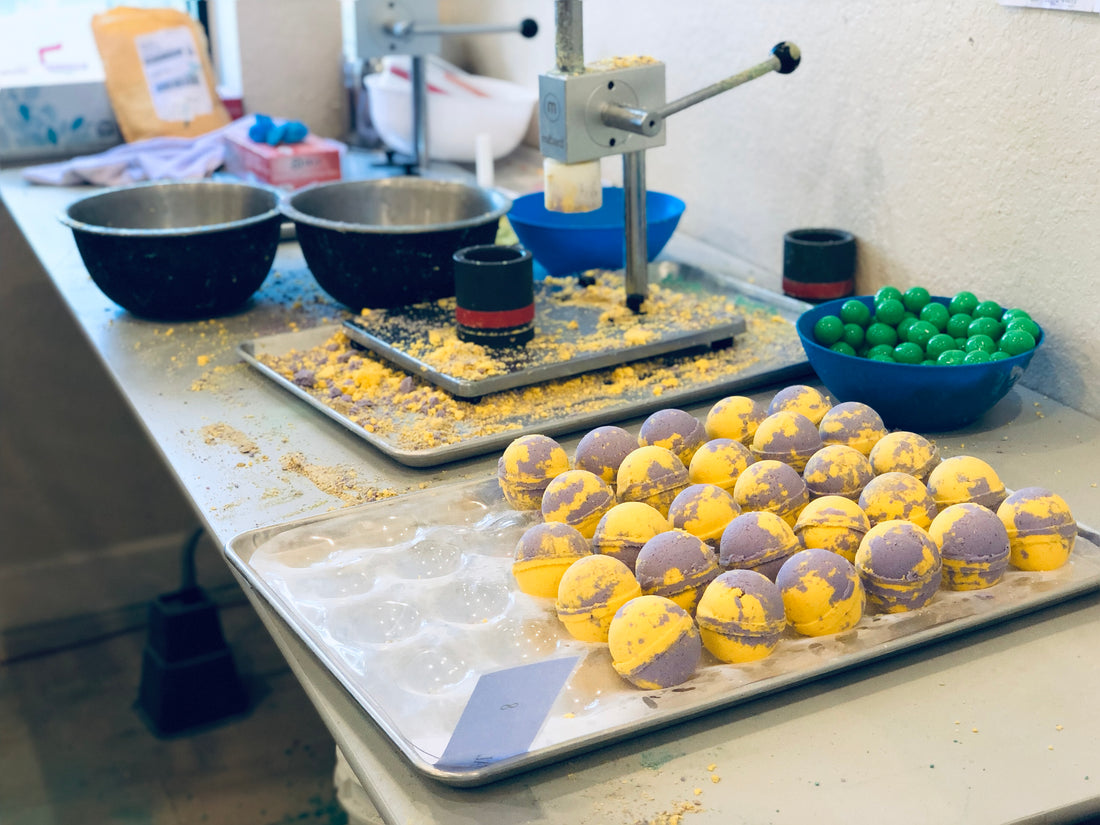
- Fill the two sides of your mould then press them down a little to compact it. Then pile more mix loosely on top of each side and press them together really hard. Don’t twist! I then use a teaspoon to tap all around one side of the mould, and the bath bomb then drops out into my hand. Turn it over, tap, tap, tap again, and the other side of the mould should come off. It’s taken me a while to get to the point where this works 99.9% of the time. If it doesn’t work – empty out the mix and give the mould a good wipe on the inside before trying again.
- I never leave the bath bomb in the mould for any length of time. Soap Queen has a great Q&A on bath bomb making here, but while she recommends leaving the bomb in the mould for a few hours, I’ve never found it to be necessary with round bombs, but it might well be necessary for different shaped moulds.
- I don’t mind a little bit of a flat bottom on my bombs, but if you’d like to avoid one then placing them on bubble wrap that’s been covered with some kitchen roll works well. (The wetter your mix, the more likely you are to get a flat bottom, so consider that angle as well if you want to avoid flat bits)
- It’s worth considering the humidity of the air in your ‘making’ area. I live in a notoriously wet area and I genuinely haven’t had a problem making bath bombs when it’s raining. However, if you live in particularly humid area, or your kitchen is particularly steamy, then you might find bath bomb making becomes troublesome.
There you go, those are my tips for bath bomb making. If you have any tips to add please comment below!
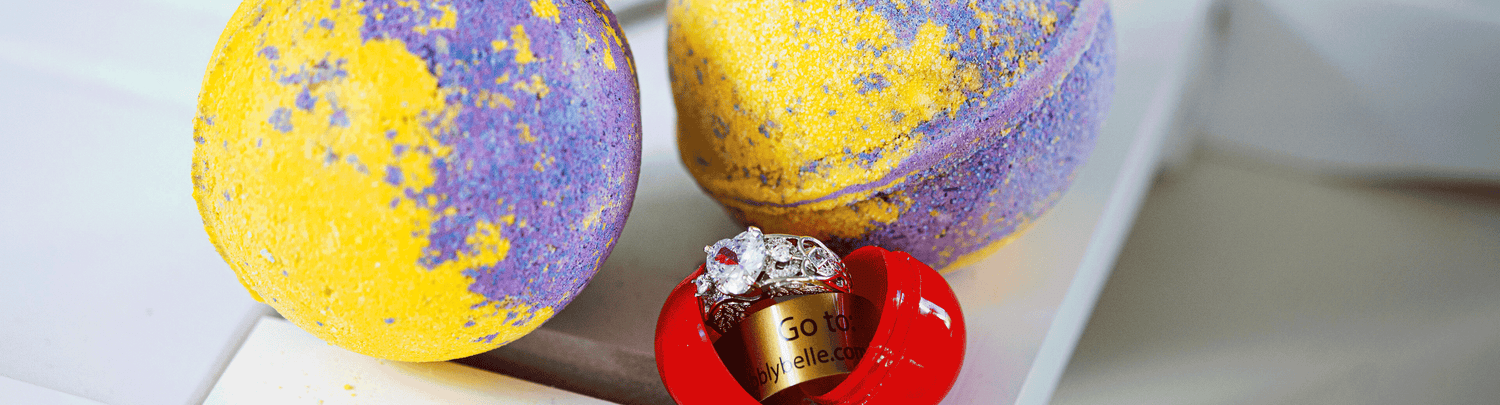
Head over to Bubbly Belle to order some of our one-of-a-kind bath bombs.